How to start Godlike Hosting Basic Overview for Beginners
Welcome to the ultimate guide on Godlike Hosting, a leading game hosting service based in Ukraine. This guide will provide you with all the information you need to set up your own game server, making it ideal for both newcomers and experienced gamers alike. With a focus on user-friendliness and powerful features, Godlike Hosting offers a seamless experience for those looking to dive into the world of game hosting.

What is Godlike Hosting?
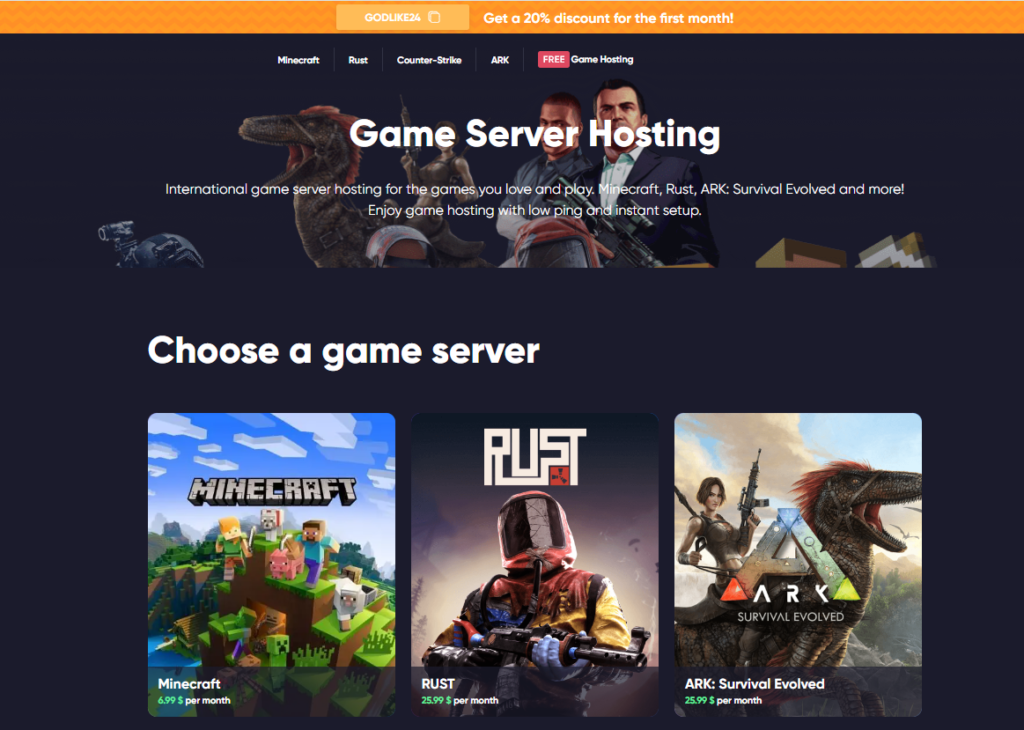
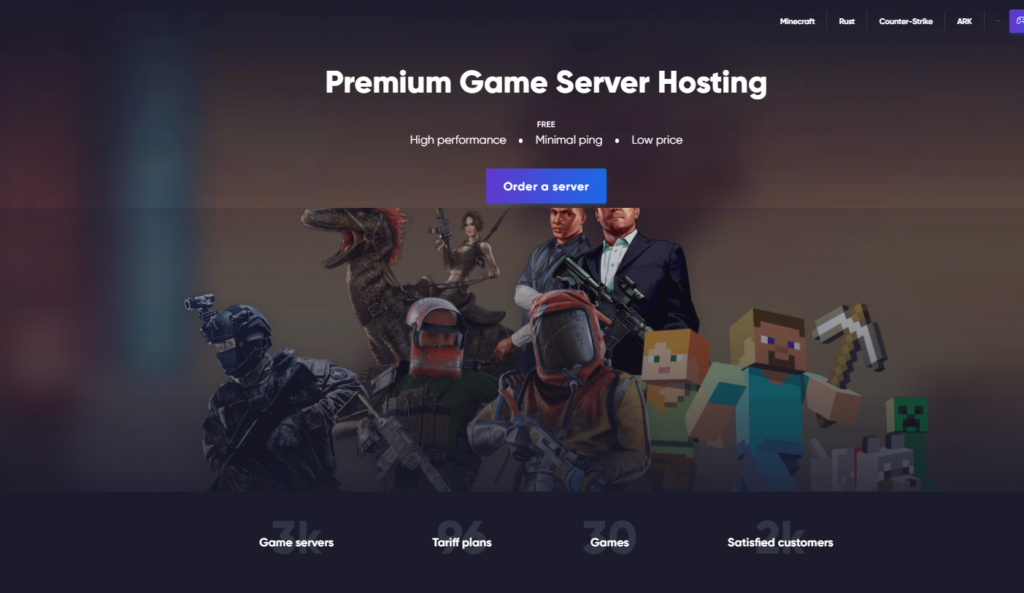
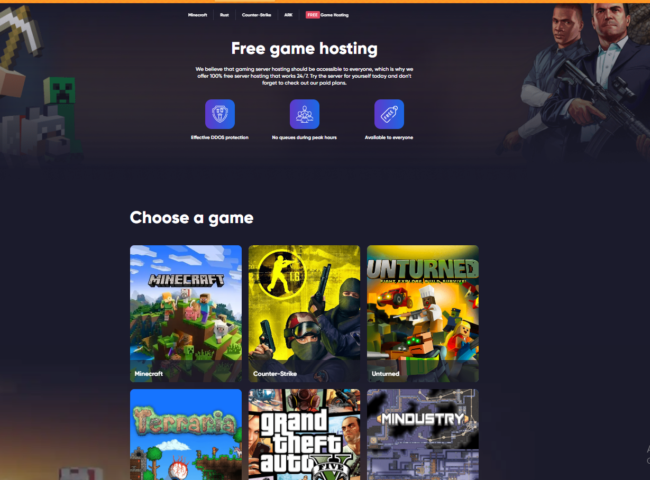
Godlike Hosting specializes in providing high-performance game servers for a variety of popular games. Whether you want to host a Minecraft server, CS:GO, or any other game, Godlike Hosting has you covered. The service is designed to cater to a wide range of needs, from casual players looking to have fun with friends to serious gamers who require robust server performance.
Key Features of Godlike Hosting
Before diving into the setup process, let’s look at some of the standout features that make Godlike Hosting a preferred choice for many gamers:
- Easy Setup: The platform allows users to create their servers quickly and without complicated procedures.
- Affordable Pricing: Godlike Hosting offers competitive pricing with regular discounts, making it accessible for gamers on a budget.
- Customizable Options: Users can configure their server specifications, including RAM, CPU cores, and storage, based on their specific needs.
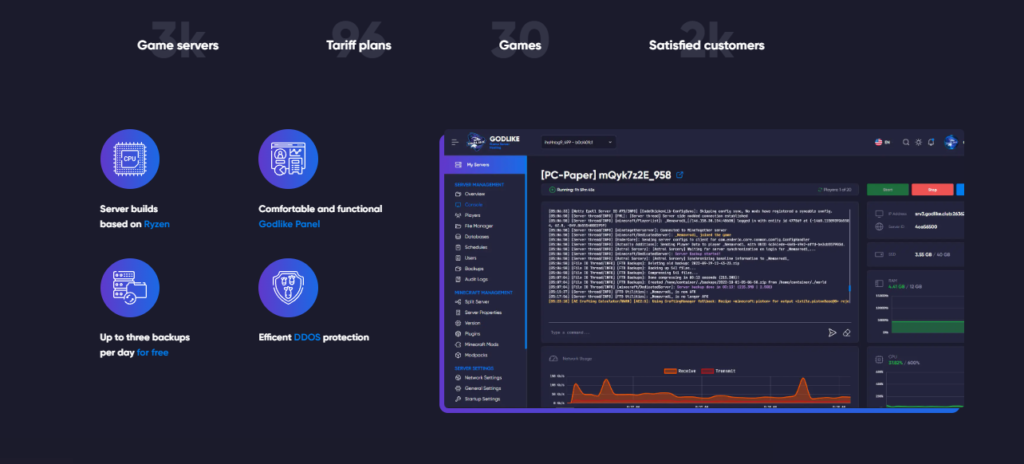
- DDoS Protection: Your server is safeguarded against Distributed Denial of Service (DDoS) attacks, ensuring uninterrupted gameplay.
- Powerful Hardware: Servers run on high-performance AMD processors, providing the necessary speed and reliability for gaming.
- User-Friendly Control Panel: The intuitive design allows even those with no technical expertise to manage their servers effortlessly.
- 24/7 Customer Support: A dedicated support team is available around the clock to assist with any issues or inquiries.
How to Set Up Your Godlike Hosting Server
Setting up your server on Godlike Hosting is a straightforward process. Follow the steps outlined below to get started.

Step 1: Create an Account
- Visit the Website: Go to Godlike Hosting.
- Register: Click on the “Sign Up” button. You can choose to register using your email or through your Google account.
- Confirm Your Email: After registering, you will receive a confirmation email. Click the link in the email to verify your account.
- Login: Return to the website and log into your newly created account.
Step 2: Choose Your Game
- Select a Game: On your dashboard, browse through the list of supported games. For this example, we will select Minecraft.
- Choose Game Type: Decide whether you want to host the Java Edition or the Bedrock Edition of Minecraft, depending on your preference.

Step 3: Customize Your Server Specifications
- Select Server Specifications: Godlike Hosting allows you to customize your server’s specifications. Consider the following components:
- CPU Cores: Choose the number of dedicated CPU cores based on the expected number of players.
- RAM: Allocate sufficient RAM for smooth gameplay. For example, a server for 20 players may require at least 4 GB of RAM.
- Storage: Choose the storage type. NVMe drives offer better performance than traditional HDDs.
- Use Recommended Settings: Godlike Hosting often suggests configurations based on the game and number of players. Review these recommendations to make an informed decision.
Step 4: Payment Options
- Select Payment Method: After customizing your server, proceed to payment. Godlike Hosting accepts various payment methods, including credit cards and cryptocurrencies (like Bitcoin).
- Enter Payment Information: Fill in your payment details. If you choose cryptocurrency, follow the specific instructions provided.
- Confirm Your Order: Once payment is complete, you will receive a confirmation email regarding your server order.
Step 5: Manage Your Server
- Access the Control Panel: After setting up your server, navigate to the “Services” section in your account dashboard.
- Find Your Server: Click on your server to access management options.
- Start Your Server: If your server isn’t already running, click the “Start” button. This will initiate your server and make it accessible to players.
Step 6: Install Plugins and Mods
- Access File Manager: In the control panel, locate the file manager. This is where you can manage your server files.
- Upload Plugins: You can either upload plugins manually or install them directly through the provided options.
- Direct Installation: Navigate to the plugins tab and browse available plugins. Click “Install” on any desired plugins.
- Manual Upload: If you have custom plugins, you can upload them directly by dragging and dropping files into the file manager.
Step 7: Create and Manage Backups
- Backup Your Server: It’s crucial to regularly back up your server to avoid data loss. In the control panel, look for the backup option.
- Create a Backup: Click on the backup feature, name your backup, and confirm. This will save the current state of your server.
- Restore from Backup: If you need to revert to a previous state, you can easily restore from a backup using the same interface.
Step 8: Connect to Your Server
- Find Your Server’s IP Address: Copy your server’s IP address from the control panel. This is crucial for connecting to your server in-game.
- Open the Game Client: Launch the game client for the game you are hosting, such as Minecraft.
- Add Server: Click on “Add Server” in the game’s menu. Paste the IP address you copied and give your server a name.
- Join the Server: Select your server from the list and click “Join” to connect. You should now be in your own game server!
Troubleshooting Common Issues
Even with a user-friendly setup, you may encounter some common issues. Here’s how to address them:
Connection Problems
- Check Server Status: Ensure your server is running. If it’s offline, simply start it from the control panel.
- Firewall Settings: Make sure that your firewall settings are not blocking the connection. This applies to both server-side and client-side firewalls.
Plugin Errors
- Compatibility Issues: Ensure that the plugins you are using are compatible with your server version. Check plugin documentation for version requirements.
- Check Logs: If plugins are causing crashes, check the server logs for error messages. This will help you identify which plugin is problematic.
Performance Issues
- Resource Allocation: If your server is lagging, you may need to allocate more RAM or CPU resources. Consider upgrading your server specifications through the control panel.
- Check Player Count: If you are exceeding your allocated player limit, it can lead to performance issues. Ensure your server configuration matches the expected number of players.
Advanced Features of Godlike Hosting
Once you are comfortable with the basics, you may want to explore some advanced features that Godlike Hosting offers:
Server Partitioning
- Split Server Capabilities: You can create multiple servers from a single account. This is useful for managing different game modes or settings.
- Resource Allocation: Easily allocate resources like RAM and storage between different servers to optimize performance.
Custom Game Modes
- Change Game Types: If you decide to switch from one game to another (e.g., from Minecraft to CS:GO), Godlike Hosting allows you to change your server type seamlessly.
- Modify Server Kernels: Choose from various server kernels based on the game requirements, which can enhance performance.
Community and Support
- Access to Community Resources: Godlike Hosting often has a community forum or Discord server where users can share tips and ask questions.
- Customer Support: The 24/7 support team is always ready to assist you. Utilize live chat or ticket systems for quick resolutions.

Conclusion
Godlike Hosting is a powerful and user-friendly platform for anyone looking to host their own game servers. With its straightforward setup process and robust features, it caters to both beginners and experienced users alike. By following the steps outlined in this guide, you’ll be well-equipped to set up and manage your game server effectively.
If you’re ready to get started, visit Godlike Hosting and unleash your gaming potential today!
This comprehensive guide serves as a detailed resource for anyone interested in using Godlike Hosting, ensuring that even those with no prior experience can navigate the process confidently. Happy gaming!
Back review


Leave feedback about this